This article explains how to insert data into Excel using an OleDB Connection in an ASP.NET page.
Use the following procedure to create the sample.
Step 1: Open Visual Studio and create a new empty website.

Provide the location and name of the website and click on the "OK" button.
Step 2: Now go to the Solution Explorer and right-click on the project, Select Add and then click on Add New Item.


Step 3: Now one dialog box will be opened; from that select Web Form, provide the name of the web form that you want and click on Add.
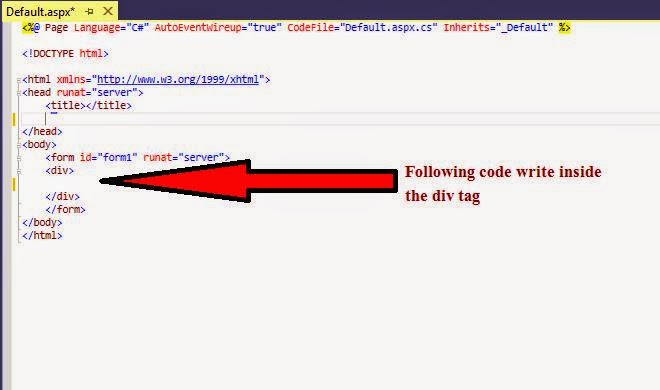
Step 4: Now you will see the following code:

Step 5: Now design your page as you want and suppose we have a page with 5 Text-Boxes and 1 Button control.
- 1st Text-Box For Name.
- 2nd Text-Box For Email.
- 3rd Text-Box For
- 4th Text-Box For Location.
- 5th Text-Box For Qualification.
For designing this you need to do the following:

Step 6: For styling purposes here we have taken some CSS style so I am putting these CSS Styles inside the head tag.


Step 7: Now click on the design.

Step 8: Now after clicking on the design you will see the design of the page as in the following:

Step 9: Now create one Excel sheet and put it inside the Solution Explorer. As I have explained above, I am storing the Name, Email, Mobile Number, Location and Qualification so I am creating the Excel sheet as in the following:

Step 10: Now double-click on the Submit button and fire the click event of this button.

Step 10: Before writing the code inside the click event's function, we need to add two namespaces, so add those; the two namespaces are given below:
using System.Data.OleDb;
using System.Data;
Step 11: Now on the click event of the Submit button write the following code.
protected void Button1_Click(object sender, EventArgs e)
{
string ConStr = "";
//getting the path of the file
string path = Server.MapPath("InsertDataExcel.xlsx");
//connection string for that file which extantion is .xlsx
ConStr = "Provider=Microsoft.ACE.OLEDB.12.0;Data Source=" + path + ";Extended Properties=\"Excel 12.0;ReadOnly=False;HDR=Yes;\"";
//making query
string query = "INSERT INTO [Sheet1$] ([Name], [Email], [MobileNo], [Location], [Qualification]) VALUES('" + TextBox1.Text + "','" + TextBox2.Text + "','" + TextBox3.Text + "','" + TextBox4.Text + "','" + TextBox5.Text + "')";
//Providing connection
OleDbConnection conn = new OleDbConnection(ConStr);
//checking that connection state is closed or not if closed the
//open the connection
if (conn.State == ConnectionState.Closed)
{
conn.Open();
}
//create command object
OleDbCommand cmd = new OleDbCommand(query, conn);
int result = cmd.ExecuteNonQuery();
if (result > 0)
{
Response.Write("<script>alert('Sucessfully Data Inserted Into Excel')</script>");
}
else
{
Response.Write("<script>alert('Sorry!\n Insertion Failed')</script>");
}
conn.Close();
}
Step 12: Now build and run the project and fill in some data.


And after clicking on "Submit".
After inserting some data inside Excel, open the Excel file and see that the Excel file has some data that I inserted using my ASP.NET page as in the following:
No comments:
Post a Comment